
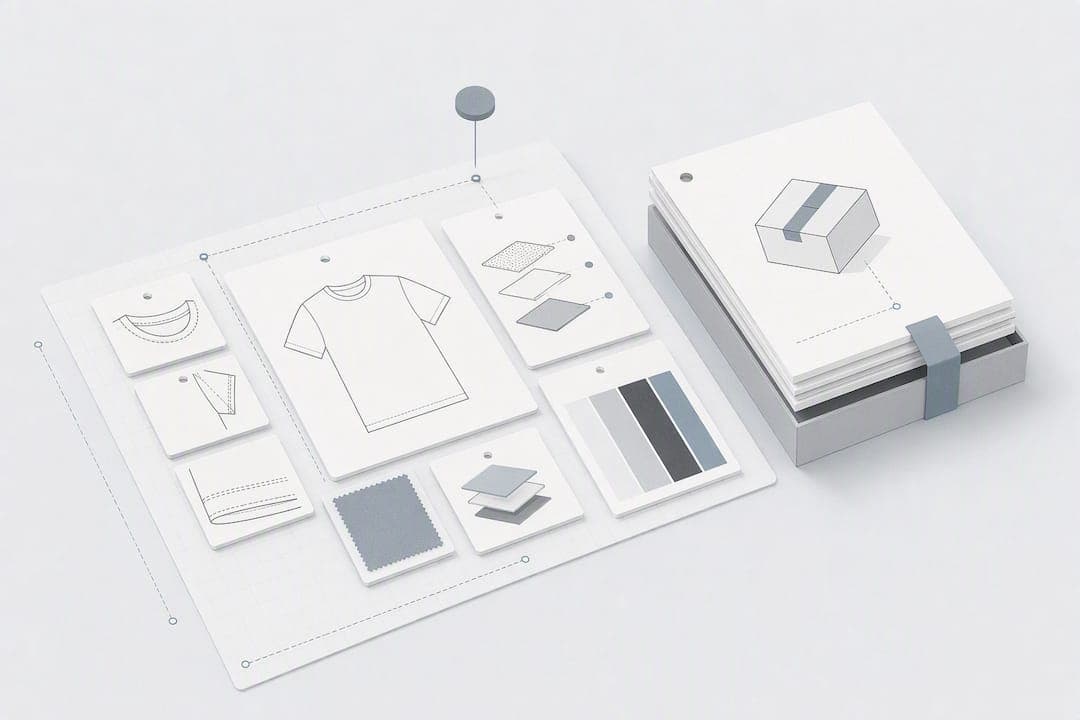
A T-shirt tech pack is the manufacturer-ready document that tells a factory exactly how to cut, sew and finish your design, down to the millimetre. Get it right and you cut sample rounds, tighten factory quotes, and remove the guesswork that leads to costly reprints. At minimum, it needs technical flats, a spec sheet with tolerances, a bill of materials, and construction notes.
TL;DR:
- Including correct style numbers, season, size range, and revision date on the cover page prevents confusion and delays during production.
- Clear, measurement-specific placement details and cross-referenced callouts in flats ensure factory accuracy and consistent fit across batches.
- Detailed bill of materials with exact fabric specifications, trims, and inks minimizes high quotes caused by vague descriptions or unknown materials.
- Stating precise construction and stitch details using recognized standards avoids misinterpretations across different factories and fabric types.
- Using version-controlled PDFs and centralized files streamlines revisions and reduces sampling delays, supporting better scalability for brands.
Table of Contents
- What goes on the cover page of a t shirt tech pack?
- How do you draw technical flats for a T-shirt?
- What belongs in the bill of materials for a T-shirt?
- How do you set tolerances and points of measure on a spec sheet?
- Which construction and stitch details do factories need?
- How do you specify print and embroidery placement precisely?
- What labelling and packing instructions should be included?
- How do you run a first-fit inspection and revision log?
- Which templates and tools actually speed up tech pack creation?
- Quick tech pack checklist before you send to a factory
- Why version discipline separates brands that scale from brands that stall
- Generate a manufacturer-ready T-shirt tech pack with Wovaai
- Sources
- FAQ
What goes on the cover page of a t shirt tech pack?
The cover page is the identity card for your style, and factories read it before anything else. Miss a detail here and you get emailed questions before production even starts, which is exactly the delay a tech pack is meant to prevent.
Include these on every cover sheet:
- Style number and style name (unique, never reused across seasons)
- Season and delivery date
- Base size and full size range
- Colourways, listed by name and Pantone reference
- Version number and revision date
- A reference photo or croquis of the garment
Naming and versioning matter more than they sound. A factory working from "Tee_final_v2_ACTUALFINAL" has no way to know which file supersedes which, and that ambiguity is how outdated specs slip into production. Export the finished pack as a single multi-page PDF named by style number and version, while keeping an editable source file for your own revisions. Suppliers consistently prefer this single PDF plus editable source approach because it avoids font substitution and rendering differences between design software and whatever the factory has installed.
How do you draw technical flats for a T-shirt?
Technical flats are black and white vector line drawings, never sketches or renders, shown front and back at the same scale so proportions read correctly against each other. Colour and shading belong in your design references; flats exist purely to show construction.
A usable set of T-shirt flats needs:
- Front and back views at identical scale, with side seams and hems visible
- A close-up detail view of the collar or neckline construction
- Callouts for sleeve type, hem finish, ribbing width and any internal panel seams
- Stitch lines marked distinctly from cut edges
- Measurement callout lines pointing to the exact panel they reference
Every callout line should tie back to a row in your spec sheet, not float as a vague label. If you mark "sleeve opening" on the flat, that same wording needs to appear as a point of measure with a number attached, because a factory pattern maker will cross-reference the two documents constantly during grading.
What belongs in the bill of materials for a T-shirt?
The bill of materials, or BOM, is where vague descriptions become procurable specifications. "Cotton jersey" tells a mill nothing useful; "180gsm, 100% combed cotton, single jersey knit" tells them exactly what to source and quote against.
Your BOM should specify:
- Main fabric: fibre composition, GSM, knit type (single jersey, interlock, French terry), and supplier if already confirmed
- Secondary materials: neck rib composition and width, pocketing fabric if lined, interfacing for collars or plackets
- Thread: ticket number and fibre type for topstitching versus overlocking
- Labels: main label, care label, and their fabric or print method
- Print or embroidery colours: Pantone references for every ink or thread colour, never "navy" or "forest green"
- Hardware finish: if there are snaps, eyelets or metal trims, state the plating and finish
Vague BOM entries are one of the most common reasons factories quote high. When a supplier cannot pin down exact fabric weight or fibre content, they price in a margin for the unknown, and that margin comes out of your cost sheet.
How do you set tolerances and points of measure on a spec sheet?
State the base size before anything else on the spec sheet. Every other size in your range grades up or down from that one reference size, so if the base size is ambiguous, the whole grade rule collapses.
For a standard crew neck T-shirt, the essential points of measure are:
- HPS to hem (high point shoulder to bottom hem, front length)
- Chest width, measured 2.5cm below the armhole, straight across
- Shoulder width, seam to seam across the back
- Sleeve length, from shoulder seam to sleeve hem
- Sleeve opening, circumference at the cuff
- Neck width and neck drop, both measured flat
Every measurement row needs a stated tolerance, which is typically small for a basic tee unless a specific construction demands tighter control. State whether the garment is measured flat or on a body form, too. Skip either detail and factories apply their own house tolerance instead of yours, which is exactly how two "identical" batches end up fitting differently.
Link each spec row back to a lettered callout on your flat. A row reading "B: Chest width, 50cm ±0.5cm" only means something if the flat has a letter B pointing at the exact seam being measured.
Which construction and stitch details do factories need?
Construction notes remove the last layer of interpretation from your pack. Naming seams and stitches using recognised ISO 4915 seam class and ASTM stitch type references means a factory in Portugal and a factory in Vietnam read the same instruction identically, rather than guessing from a description.
Cover these on every T-shirt pack:
- Seam type for side seams and shoulder seams (typically overlock for knits)
- Stitch class for hems (usually a coverstitch for a clean finish on jersey)
- Stitches per inch (SPI), generally 10 to 12 for knit hems and topstitching
- Seam allowance in centimetres for every major seam
- Bartack placement at stress points, such as the base of a neck placket or pocket corners
Pro Tip: Knits and wovens don't behave the same under the needle. A coverstitch hem that looks perfect on jersey will pucker on a woven pocket trim, so specify the stitch class per fabric type, not per garment.
How do you specify print and embroidery placement precisely?
"Centre chest" means something different to every person who reads it. Placement should always be given as a measurement from a fixed anatomical point, such as 8cm below the high point shoulder, horizontally centred, so the same coordinates produce the same result whether the operator is in your first sample run or your fifth reorder.
Supply the following for every placement:
- Vector artwork with colour separations already broken out
- Pantone codes for every individual colour in the design
- Placement measured from HPS or another fixed seam, never "centred" alone
- File format and resolution matched to the print method (vector AI or EPS for screen print, embroidery-ready DST for stitched logos)
What labelling and packing instructions should be included?
Packing details rarely get much attention until a factory bills you for cartons you did not plan for. Cover the basics and move on:
- Care label wording, symbols, and placement (usually centred at the side seam or neck)
- Hang tag attachment method and string or pin type
- Fold method for retail versus bulk packing
- Polybag dimensions, warning label wording, and barcode placement
- Carton packing list showing units per size, per colour, per carton
How do you run a first-fit inspection and revision log?
Your first sample is the reality check for every spec you wrote on paper. Measure it flat, against every point of measure in your spec sheet, and record the actual figure next to your target, not just a pass or fail note.
- Lay the sample flat and measure each POM exactly as defined in the spec sheet (flat versus body, stated the same way).
- Log every deviation as a number, not a description, so "chest width 51.2cm against 50cm ±0.5cm target" replaces "a bit big."
- Photograph any construction fault directly, and annotate the flat drawing where the deviation occurs.
- Assign a new version number to the revised pack, moving from v1.0 to v1.1, so nobody works from the outdated file by accident.
- Decide: accept as-is, request a second sample against the revised spec, or pause the order if the deviation affects fit across the whole size range.
Most factories check the measurement chart, BOM and construction callouts first when a revised pack lands in their inbox, so those three sections need to be airtight before the pack goes back out.
Which templates and tools actually speed up tech pack creation?
A multi-page PDF remains the standard delivery format, built from vector flats in AI or SVG and spreadsheet-based spec tables that keep POM rows consistent across sizes. For a small brand launching several styles at once, a pre-built template cuts setup time considerably compared with building each pack from a blank page.
Common tool combinations include:
- Adobe Illustrator for vector flats, exported to a shared spec spreadsheet
- Google Sheets or Excel for spec rows and grade rules across a size range
- PLM software for brands managing dozens of SKUs across seasons
An experienced designer working manually can expect a basic T-shirt pack to take one to two hours once flats and specs are drafted from scratch. Some platforms shorten that considerably by turning a written garment description straight into flats, a populated BOM, and spec rows in one pass, which matters most for brands testing several styles before committing to a production run.
Quick tech pack checklist before you send to a factory
Run through this before any pack leaves your inbox:
- Flats: front, back, and detail views at matching scale
- BOM: every fabric, trim and thread specified with real numbers
- Spec sheet: base size stated, tolerances on every row
- Construction: seam types, SPI and seam allowances named
- Artwork: vector files with placement measured from a fixed point
- Packing: labels, polybag and carton details confirmed
- File named by style number and version, exported as one PDF
Why version discipline separates brands that scale from brands that stall
Most early sampling delays trace back to one thing: nobody stated the base size or tolerance before the first sample got cut. A factory left without a stated tolerance defaults to its own house standard, and that is how two "identical" reorders end up fitting differently on the rail.
Centralising flats, BOM and specs into one versioned file, rather than emailing loose updates, cuts sampling rounds noticeably. It sounds like admin. It is the difference between a second sample and a fifth.
— WOVA Editorial Team
Generate a manufacturer-ready T-shirt tech pack with Wovaai
Some AI-powered platforms turn a written garment description into outputs like vector flats, a populated BOM, spec rows with tolerances, and construction notes, often exported as production-ready PDFs.

Instead of building flats in Illustrator and spec tables in a separate spreadsheet, some platforms generate both together from one description, already cross-referenced the way factories expect. This can be helpful when testing several styles before committing to full production. A free trial lets you generate one sample style and see the output against your own factory's checklist before you commit to anything. Start with a single T-shirt style on the Wovaai platform and compare the generated pack against what your factory currently asks for.
Sources
For the full production lifecycle behind a tech pack, see Shopify's guide. For sheet-by-sheet breakdowns, see TechDraw AI and World Fashion Exchange.
- Fashion Tech Pack Guide: What It Is & How to Build One - World Fashion Exchange
FAQ
What is a tech pack in clothing?
A tech pack is the manufacturer-ready document that specifies every measurement, material and construction detail needed to produce a garment, so a factory can build it without guessing at your intent.
How much should a tech pack cost?
Costs vary widely depending on whether you build it yourself, hire a freelance technical designer, or use a platform such as Wovaai; a basic T-shirt pack built manually takes an experienced designer roughly one to two hours, which sets a baseline for freelance quotes.
What should I include in a tech pack?
At minimum, include a cover page with style details, technical flats, a bill of materials, a spec sheet with points of measure and tolerances, construction notes, artwork placement instructions, and packing details.
Can I create a tech pack for free?
Yes, using free spreadsheet templates and a vector drawing tool, though it takes longer than a paid template or an AI platform; free trials on tools like Wovaai let you test automated generation before committing to a paid plan.