

To turn a clothing idea into a finished garment, you move through five defined stages: a written brief, a manufacturer-ready tech pack, pattern making, sample rounds, then production. Most single styles take several months and a few rounds of samples before you get a pre-production sample worth approving. Tools like WOVA can compress the sketch and tech pack stages from weeks into hours.
TL;DR:
- Most clothing development from idea to finished garment takes between 12 and 24 weeks, with sampling phases often consuming the majority of time and budget.
- Writing a detailed brief and validating it through real demand signals like landing pages or targeted feedback helps avoid costly sample revisions.
- A comprehensive tech pack that includes flats, measurements with tolerances, BOM, and construction notes is essential for accurate manufacturing and avoiding misunderstandings.
- Ordering fabric and trims as swatches for testing shrinkage, color fastness, and sewability prevents production delays and surprises.
- Locking design decisions early and maintaining clear, consistent documentation reduces costly reworks and streamlines bulk order quality control.
Table of Contents
- How long does it take to turn a clothing idea into a finished garment?
- How to write a brief and validate the idea before you sketch
- What goes into a tech pack that factories can actually use?
- Where do you find fabric and trims that actually match the design?
- Pattern making: turning flats and specs into buildable pieces
- Sampling and fit: proto, fit sample, and the PPS
- What does it cost to get from sample to bulk production?
- How do you stop defects from wrecking a bulk order?
- Garment construction techniques and sewing methods
- Choosing appropriate machinery and tools
- Selecting suitable threads and notions
- Final garment finishing and pressing techniques
- Lessons for solo designers and small teams
- Try WOVA for faster sketches and manufacturer-ready tech packs
- Sources
- FAQ
How long does it take to turn a clothing idea into a finished garment?
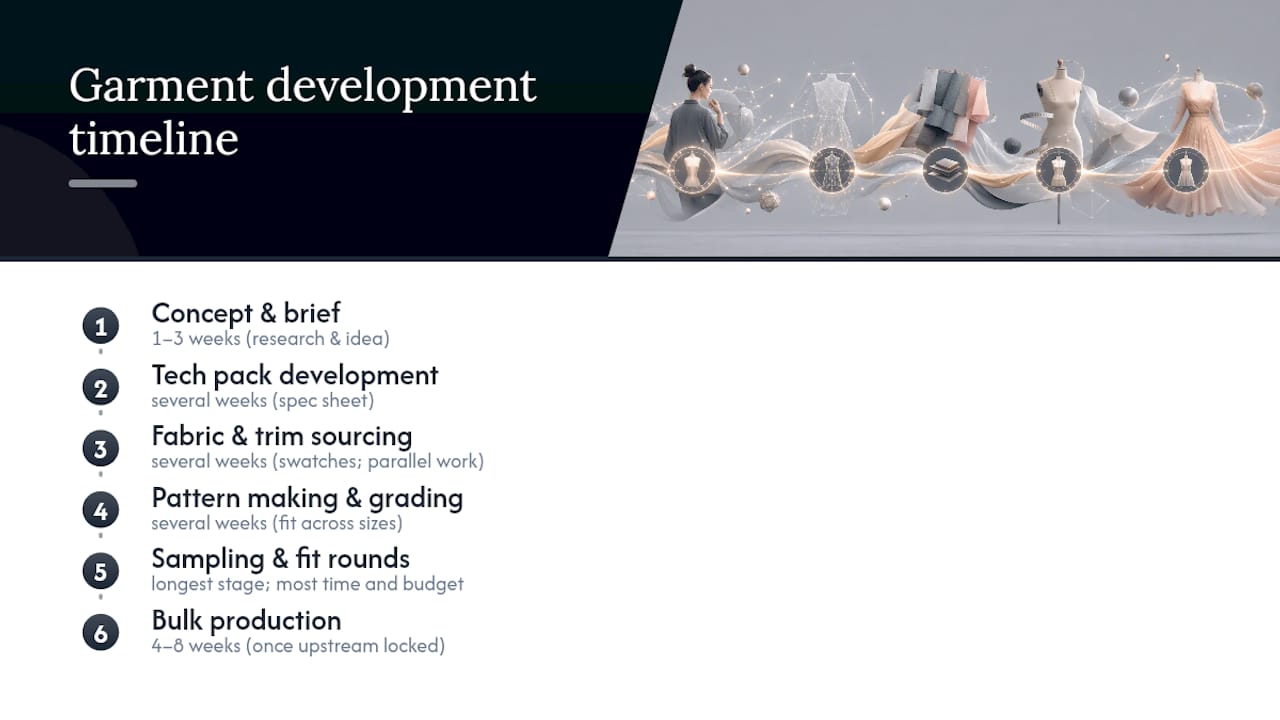
Expect the full arc from concept to finished product to run 12 to 24 weeks for a single style, according to The Fashion Coterie's product development guide. Concept and research take the least time—usually one to three weeks. Bulk production at the other end takes four to eight weeks once everything upstream is locked.
The stages typically include concept and brief, tech pack development, fabric and trim sourcing, pattern making and grading, sampling and fit rounds, and bulk production, each spanning several weeks and often overlapping.
Pro Tip: Sourcing and tech pack work can run in parallel. Sending swatch requests while you finalise the spec sheet is the single easiest way to shave two to three weeks off the total timeline.
Sampling swallows the most time and the most budget, largely because getting a garment to hold its shape consistently across every size and every cut is the hardest technical problem in the whole process, not the design itself.
How to write a brief and validate the idea before you sketch
A brief is the document that stops a good idea from becoming an expensive guess. Before you draw anything, write down:
- Wearer profile: age range, body type, activity level, and the specific occasion the garment is built for.
- Use case: is this a one-off capsule piece, a repeatable core item, or a seasonal drop?
- Price target: your retail price and the cost ceiling that leaves room for a viable margin.
- Fit and construction constraints: stretch requirements, closures, layering needs, care instructions.
Once the brief exists, validate it before spending money on samples. Show sketches to five or ten people who match your wearer profile and ask specific questions, not "do you like it". A short landing page with a mock product image and an email signup tells you more about real demand than a hundred social media likes. Design experts frame this stage as balancing creative instinct against manufacturing reality, and that balance is exactly what a brief forces you to confront early, per Istituto Marangoni Miami's overview of the design process.
Set measurable acceptance criteria too: "sleeve must allow 90 degrees of arm raise without pulling" is something a sample can pass or fail. "Looks good" is not.
What goes into a tech pack that factories can actually use?
A tech pack is the single most important document in the entire process. It functions as both an instruction manual and a contract between you and the factory, and a complete one is what lets a manufacturer quote accurately and reproduce your garment without guesswork, according to Qyoure's manufacturing guide.
A usable tech pack includes:
- Technical flats: front and back views at minimum, with close-up detail views for stitching, pockets, or hardware that a factory might otherwise interpret incorrectly.
- Spec sheet: every measurement point (chest, waist, sleeve length, rise) listed by size, with acceptable tolerance ranges, typically plus or minus 0.5 to 1 centimetre for most woven garments.
- Bill of materials (BOM): every fabric, trim, zip, button, and label, with supplier codes where you have them.
- Colourways: Pantone references where colour accuracy actually matters, such as brand-specific shades.
- Placement details: exact positioning for prints, embroidery, or labels, usually shown as a measured diagram.
- Construction notes: seam types, stitch counts per inch, and finishing instructions the sewing line needs.
Pro Tip: Never send a factory a tech pack without tolerances on the spec sheet. A missing tolerance is the single most common reason a "correct" measurement comes back wrong across a bulk run.
A tech pack this thorough is what separates a designer who gets a usable first sample from one who burns three rounds fixing avoidable misunderstandings.
Where do you find fabric and trims that actually match the design?
Order actual swatches before you commit to yardage, and order small sample yardage, usually a metre or two, before you commit to a production run. Photos and screen colours lie constantly; fabric weight, drape, and hand only reveal themselves in person.
Once swatches arrive, check them against real conditions:
- Shrinkage: wash and dry a swatch the way the end customer will, then remeasure it.
- Colour fastness: rub a damp cloth against the fabric to check for dye transfer, and ask the supplier for a fabric test report if one exists.
- Sewability: stitch a small seam by hand or machine to see how the fabric behaves under tension and needle penetration.
Then check the business side of the relationship: minimum order quantities, lead times, and whether the supplier can guarantee the same dye lot for reorders. A fabric that performs beautifully at sample stage but has a six-week lead time and a 500-metre minimum can quietly derail your whole production schedule.
Pattern making: turning flats and specs into buildable pieces
Pattern making is where a flat drawing becomes a three-dimensional object that a sewing machine can actually produce. Get this stage wrong and every downstream stage inherits the error.
- Choose your method. A skilled pattern maker working by hand understands ease and drape intuitively, but CAD software (tools like Gerber, Optitex, or Lectra) speeds up grading and makes revisions far less painful once a base pattern exists. Many independent designers hire a pattern maker for the first block, then move revisions into CAD.
- Grade carefully. Grading scales your base pattern up and down across your size range. The most common pitfall is grading proportionally when the body does not scale proportionally, a chest that grows two centimetres per size does not mean the sleeve should grow the same amount.
- Check yield and ergonomics. A well-nested pattern reduces fabric waste during cutting and keeps seam allowances consistent enough that a sewing operator can work at a steady pace without constantly adjusting.
Precision here is not a nice-to-have. A pattern that is off by a few millimetres at the block stage often shows up as a full centimetre of misfit once it is graded to the smallest and largest sizes.
Sampling and fit: proto, fit sample, and the PPS
Three distinct samples do three distinct jobs. The proto sample, usually made in muslin or a cheap substitute fabric, checks whether the pattern's basic shape and proportions work at all. The fit sample, made in your actual (or close to actual) fabric, checks fit on a real body or form under real movement. The pre-production sample (PPS) is the final check before bulk cutting begins, confirming that the factory can reproduce the approved fit, fabric, and finish together.
Budget for two to four rounds of sampling before you approve a PPS, since prototyping is inherently iterative and few designs pass first time, per MasterClass's breakdown of the fashion design process.
Run fit sessions with the same fit model or form every time so you are comparing like with like. Record every correction against the spec sheet, not just in notes, so the next sample round has a precise target rather than a vague impression.
- Check ease at chest, waist, hip, and any stress points like underarms or crotch seams.
- Test range of movement, sitting, reaching, walking, whatever the garment's use case demands.
- Log fabric behaviour separately from fit issues; they need different fixes.
Pro Tip: Photograph every fit session from the same four angles and file them by round number. Six months later, when a factory reorder needs a fit tweak, you will thank yourself for a clear visual trail.
For sportswear or uniform-style garments specifically, Capra Sport's mockup-to-delivery breakdown is a useful reference for how sampling stages connect to final delivery.
What does it cost to get from sample to bulk production?
A cost sheet needs six components: fabric, trims, labour, shipping, duties, and your margin. Miss one and your retail price ends up wrong by the time the invoice arrives.
- Get itemised quotes for materials and labour separately, not a single bundled unit cost, so you can spot which line item is inflating your price.
- Expect a deposit request. Factories commonly ask for an upfront deposit against a purchase order, with the balance due before or at shipping.
- Plan lead times by volume. Small runs often take several weeks once the PPS is approved; larger runs usually take longer but tend to lower your per-unit cost meaningfully.
Shipping and duties get overlooked constantly by first-time designers costing a run, and they can add 10 to 20% to your landed cost depending on origin and destination country.
How do you stop defects from wrecking a bulk order?
Repeatability, not creativity, is what separates a brand that survives its first production run from one that does not. Moving from a single sample to a consistent bulk order is widely regarded as the hardest transition in the whole process, according to MakersRow's breakdown of the product development lifecycle.
Three checkpoints catch most problems before they reach your customer, as Qyoure's manufacturing guide also recommends:
- Pre-production checks on raw fabric and trims before cutting begins.
- Inline inspections during cutting and sewing, catching issues while they are still cheap to fix.
- Final AQL inspection before shipping, sampling a percentage of finished units against your spec sheet.
Use your approved PPS and its photos as the physical reference point for every inspection, and log every non-conformance against the specific tolerance it broke. A resource like DatamonPlus's real-time quality control guide is worth reviewing if you want a closer look at inline inspection systems.
Garment construction techniques and sewing methods
The construction method you choose determines durability, appearance, and cost, often more than the fabric itself. Seam type is the first decision: a plain seam works for most woven garments, a flat-felled seam (the kind you see on jeans inseams) resists fraying and suits heavy-use pieces, and a French seam encloses raw edges cleanly on lightweight or sheer fabrics where visible stitching would look wrong.
Stitch type matters just as much. A lockstitch (standard straight stitch) gives a clean, strong seam for woven fabrics but has no stretch. A chainstitch allows some give and is common on jeans hems. An overlock stitch finishes raw edges to stop fraying and is standard on knitwear side seams. Stretch fabrics generally need a coverstitch or a stitch built with some elasticity, otherwise the seam pops the first time the fabric is pulled.
Construction sequence matters too: most factories build a garment in a fixed order, attaching interfacing and facings first, then joining major panels, then setting sleeves or closures, then finishing hems and topstitching last. Deviating from that order on a factory floor slows the line down and increases the chance of a misaligned panel.
Your tech pack's construction notes should specify seam type, stitch type, and stitches-per-inch for every seam that matters structurally, not just the ones that show. A factory sewing your garment for the first time has no way to know your preferences unless you write them down.
Choosing appropriate machinery and tools
Different machines exist for different jobs, and matching the right one to your fabric and seam type avoids both wasted fabric and a sample that looks amateur.
A single-needle lockstitch machine handles most woven garment seams and is the workhorse of any small sewing operation. An overlock (serger) finishes raw edges and is essential for knit fabrics, which fray and curl without it. A coverstitch machine creates the twin-needle hem you see on t-shirts and activewear, and it is genuinely hard to replicate that specific finish any other way. For heavier fabrics like denim or canvas, a walking foot machine feeds top and bottom fabric layers evenly, preventing the puckering a standard machine causes on thick or slippery material.
Beyond the machines themselves, a few tools separate a clean sample from a rough one: a rotary cutter and self-healing mat for accurate pattern cutting, French curve and hip curve rulers for grading, and a proper tailor's ham for pressing curved seams like collars and sleeve heads without flattening them.
If you are working with a factory rather than sewing everything yourself, you rarely need to own this equipment. What matters is knowing which machine a given seam or fabric requires, so your construction notes tell the factory exactly what finish you expect, and so you can spot a bad substitution before it reaches bulk production.
Selecting suitable threads and notions
Thread choice looks like a minor detail until a seam fails under stress because the wrong thread was used. Polyester thread is the standard choice for most woven and knit garments; it has decent stretch, resists UV degradation, and works across a wide range of fabric weights. Cotton thread suits natural fibre garments like denim where a slightly matte finish is preferred, though it has less give. Nylon thread is stronger and more elastic, useful for activewear and swimwear seams that need to move with the body.
Thread weight matters as much as fibre type. A lighter weight (higher number, such as Tex 24) suits fine fabrics like silk or lawn, while a heavier weight (lower number, such as Tex 40 or Tex 70) suits denim, canvas, or upholstery-grade fabric. Using thread that is too heavy for a delicate fabric causes visible puckering along the seam.
Notions, meaning zips, buttons, elastic, interfacing, and labels, deserve the same scrutiny as fabric. A zip rated for light use will fail on a garment expected to withstand daily wear, and elastic that has not been tested for recovery will sag within a few washes. Specify notion brand, size, and supplier code in your bill of materials rather than leaving it to the factory's discretion, since a substituted zip or button can change both the fit and the perceived quality of the finished piece.
Final garment finishing and pressing techniques
Finishing is the stage that turns a technically correct garment into one that looks like it belongs on a rail rather than a sewing table. Loose threads get trimmed, buttonholes get checked for clean edges, and any hand-finishing, like blind hemming or bar tacks at stress points, happens here before the garment ever sees an iron.
Pressing is not the same as ironing, and the difference matters more than most first-time designers expect. Ironing slides a hot iron across fabric; pressing lifts and lowers the iron onto the fabric in sections, which avoids stretching seams out of shape. Steam pressing works for most natural fibres and helps set a crisp seam line. A tailor's ham is essential for pressing curved areas like collars, lapels, and sleeve caps without flattening the curve into something that looks pressed flat by mistake.
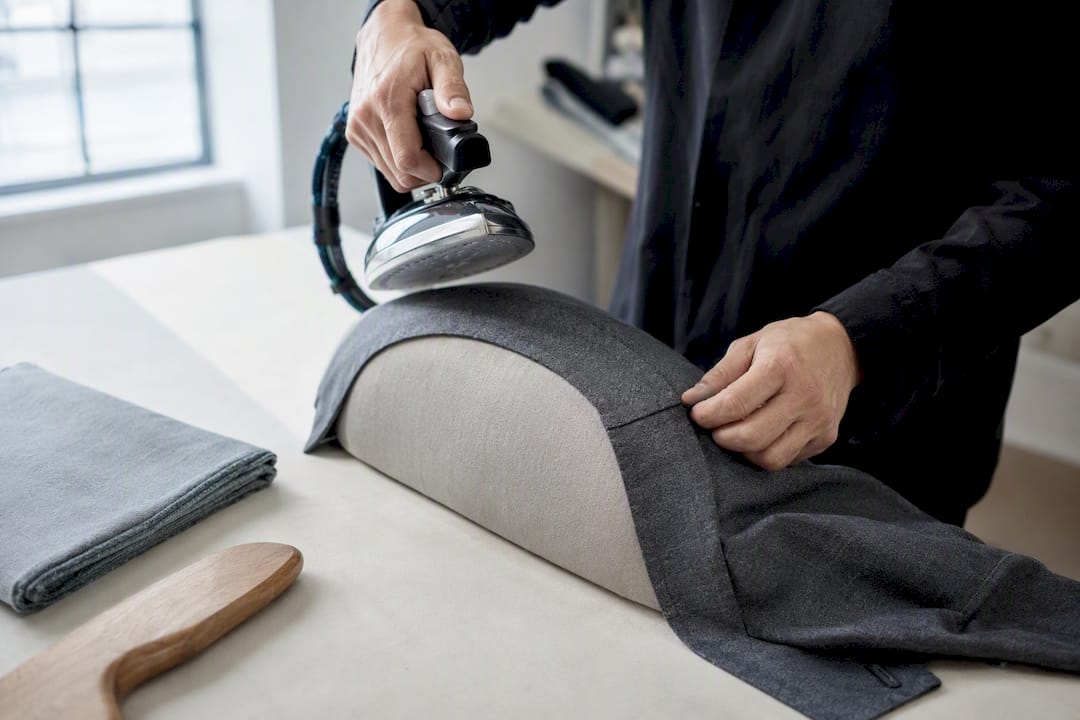
Order matters here too: press seams open as you construct rather than waiting until the garment is fully assembled, since it is far easier to press a flat seam than to reach inside a finished garment with an iron. Final pressing, once every seam and hem is complete, is what a customer actually sees and feels when they pick the garment up in a shop or unbox it at home.
Get this stage wrong on a bulk order and even a perfectly constructed garment looks unfinished. Factories usually build a final press and fold step into their AQL inspection, but it is worth confirming that explicitly in your production instructions rather than assuming it is included.
Lessons for solo designers and small teams
Lock decisions early. Every change after the tech pack is approved costs a sample round, and every sample round costs two to four weeks you probably do not have spare. Use consistent naming and version numbers across every tech pack and sample photo, "V3_fitsample_chest" beats "final final v2" every time a factory asks which round you mean. Development choices, not the sketch, decide whether a garment scales.
— WOVA Editorial Team
Try WOVA for faster sketches and manufacturer-ready tech packs
Some AI-powered fashion design platforms can shortcut the process between a written brief and a document a factory can actually quote from. Instead of hiring a technical designer for every revision or spending days redrawing flats by hand, these tools help generate professional sketches alongside a tech pack, spec sheet, bill of materials, and construction notes.
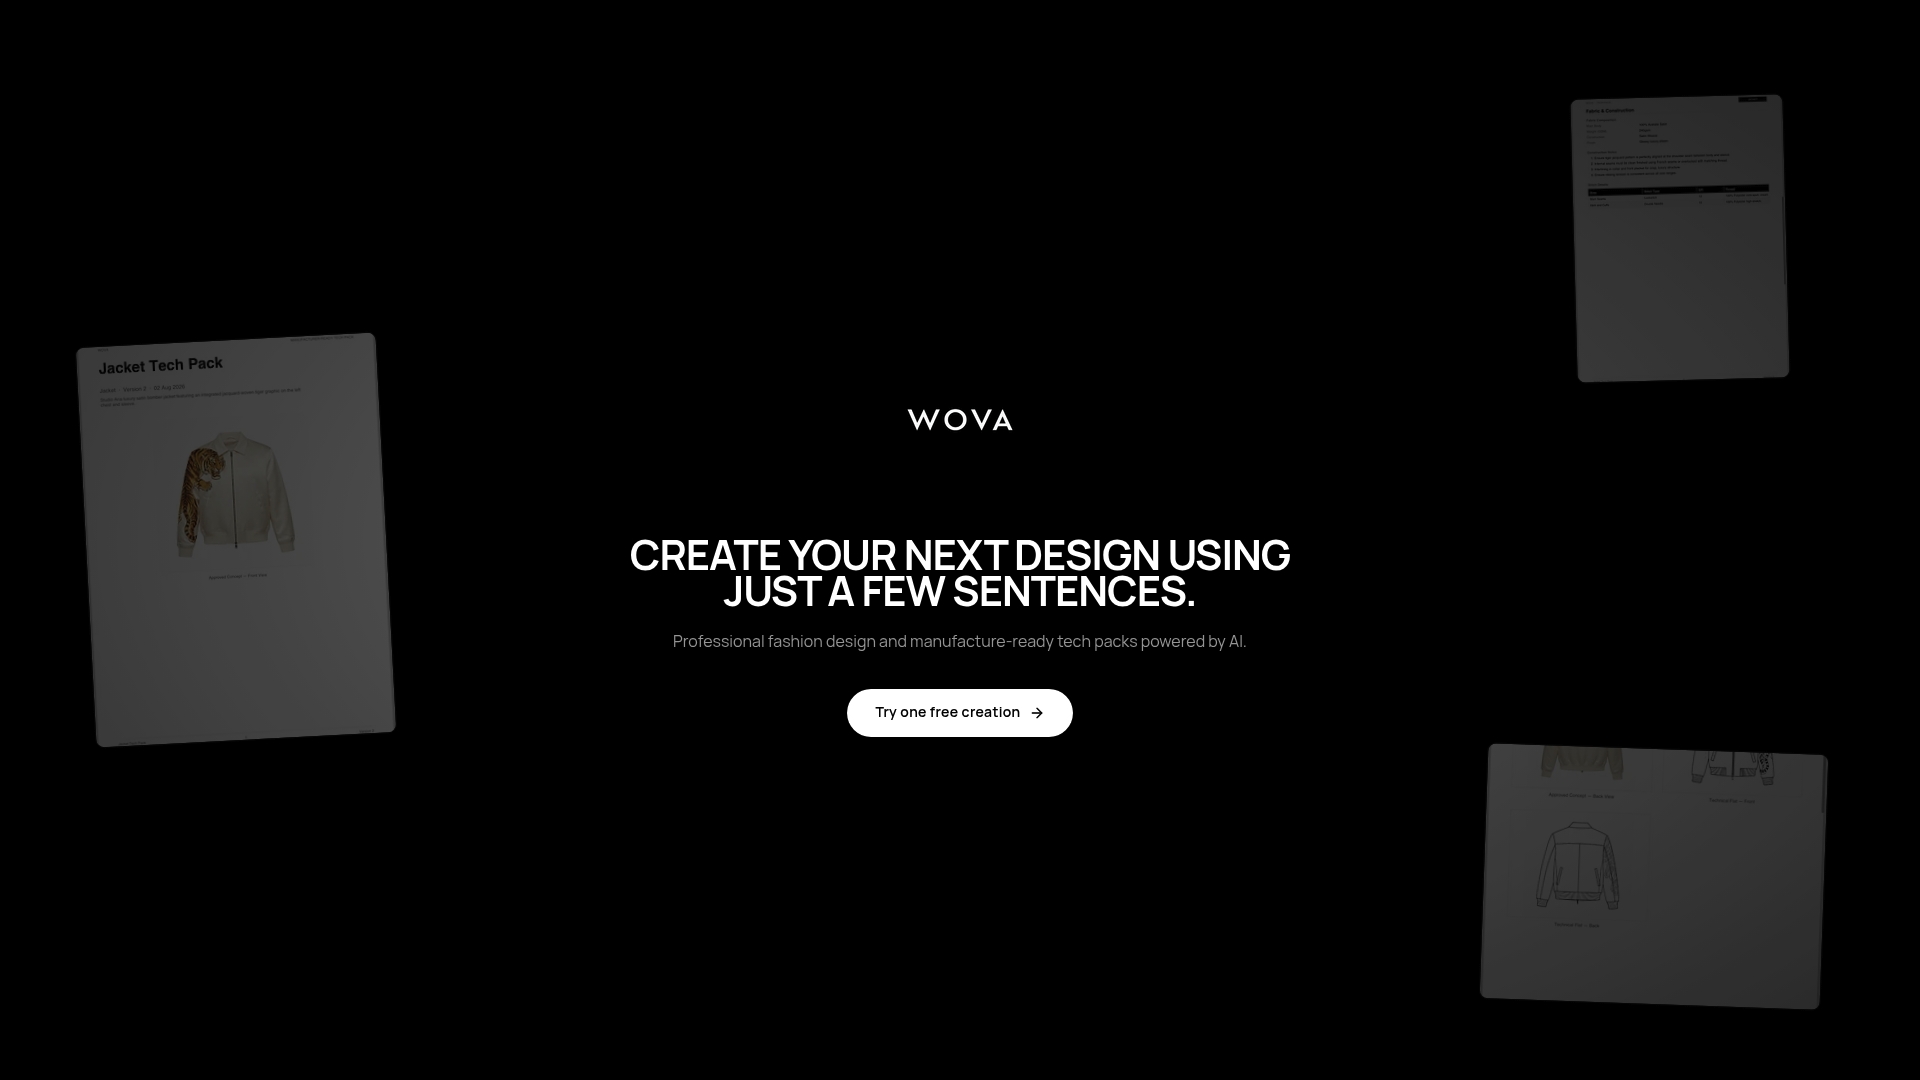
That speed matters most in the early stages covered above: concept sketches, technical flats, and the first draft of your spec sheet, the parts of the process that traditionally eat one to two weeks each. Hiring a freelance technical designer still makes sense for complex construction or highly technical garments where a human eye needs to catch nuance an automated tool might miss. For most independent designers moving a straightforward idea toward its first sample, an AI-assisted workflow closes the gap between imagination and a document you can send to a factory today. Try WOVA and see what your next tech pack could look like before your next sourcing call.
Sources
- The 5 stages of the design process — Istituto Marangoni Miami
- How to design and manufacture clothing: the ultimate guide (2025 edition) — Qyoure
FAQ
How many sample rounds should I budget for?
Most garments need two to four rounds between the proto sample and an approved pre-production sample, depending on construction complexity.
What's the single most important document to send a factory?
The tech pack, which includes technical flats, a spec sheet with tolerances, a bill of materials, and construction notes, functions as both instructions and a contract with your manufacturer.
How long does it take to turn an idea into a finished garment?
Most single styles take 12 to 24 weeks from initial concept to finished bulk production, with sampling typically consuming the most time.
Can AI tools replace a pattern maker?
No. Tools like WOVA can generate sketches and manufacturer-ready tech packs quickly, but pattern making and grading still need either a skilled pattern maker or CAD software to produce buildable, graded patterns.
What's the biggest mistake first-time designers make?
Skipping tolerances on the spec sheet and treating the first sample as final, both of which lead to costly, avoidable rounds of rework once bulk cutting begins.